 Bradenton Siding
 New-Construction Windows, Done the Way New Construction Actually Requires
Lakewood Ranch has been one of the busiest growth areas in Manatee County for years, and that means a steady mix of new custom homes, builder-spec houses, additions, and enclosed lanais that all need windows installed before the exterior finish goes on. New-construction window installation is a different job than swapping out an old window in a house that's already finished. There's no existing frame to work around, no old caulk line to match — but there's also no room to fix a mistake after the stucco or siding covers it up. The flashing, the fastening, and the water management all have to be right the first time, because most of it becomes invisible the moment the exterior is closed in.
This page is specifically about that new-construction, full-frame, nail-fin style of installation as it applies to homes in and around Lakewood Ranch — not the pocket-replacement work we do on older, already-finished houses. If you're building, adding on, or working with a builder in this area, this is the process that determines whether your windows perform for the next twenty-plus years or become a slow leak nobody notices until there's drywall damage.
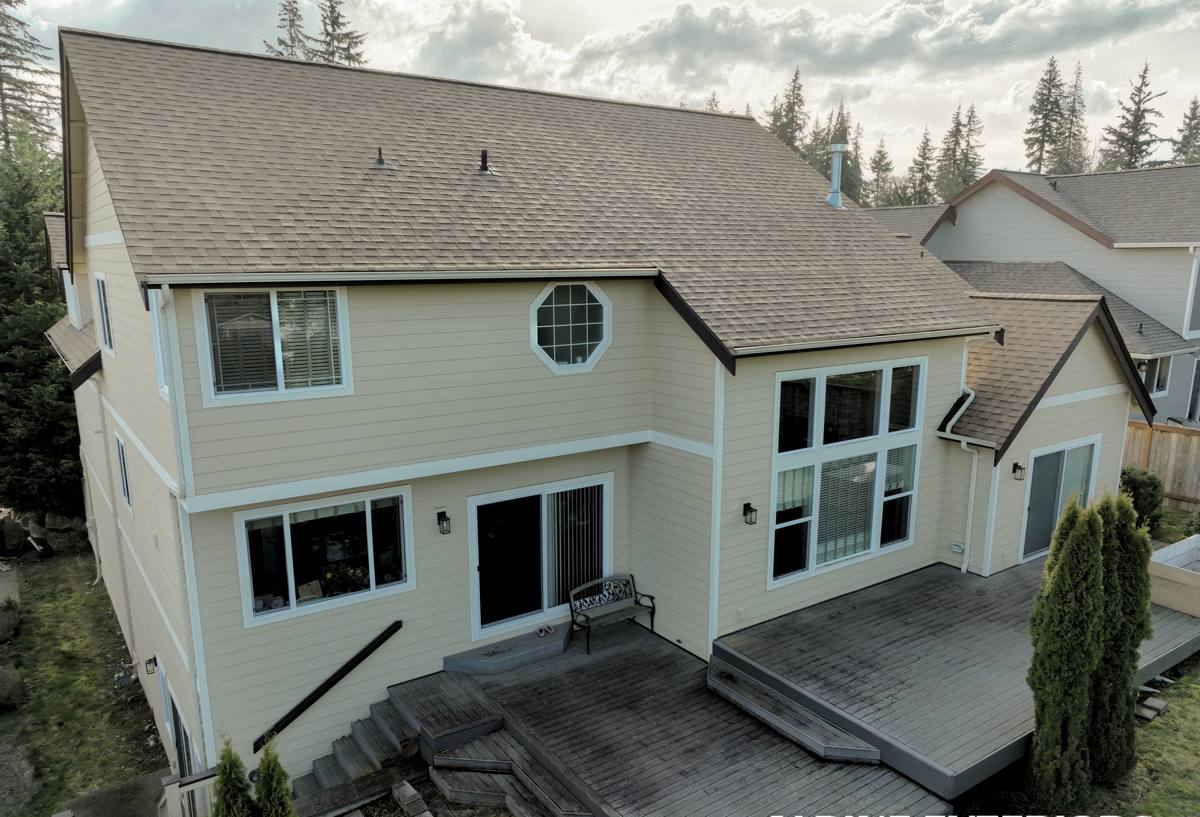
What Lakewood Ranch's Climate Actually Demands From a Window Installation
Manatee County sits in a wind-borne debris region under the Florida Building Code, and Lakewood Ranch — despite being inland from the barrier islands — still gets the full package of Gulf Coast weather: tropical-system wind gusts, wind-driven rain that gets pushed sideways into wall assemblies, and long stretches of intense subtropical UV. Homes here aren't right on the beach, so salt exposure is lighter than it is on Anna Maria Island or Longboat Key, but the humid, salt-tinged air off Tampa Bay and the Gulf still reaches this far inland and still accelerates corrosion on the wrong hardware and fasteners over time.
Wind and Pressure
During a named storm, windows take both direct wind load and the pressure changes that come with it. A window that isn't fastened per its product approval, or isn't rated for the wind zone it's installed in, is a weak point in the whole building envelope — not just a glass problem.
Wind-Driven Rain
Most water intrusion around new windows isn't from a bad window — it's from a flashing detail that let water get behind the nailing fin during a storm with rain moving horizontally instead of straight down. This is the single most common failure point we see traced back to original construction in this area.
UV and Heat Cycling
Florida sun breaks down cheap sealants and low-grade vinyl faster than almost anywhere else in the country. Frames and glazing sealants that aren't rated for sustained UV exposure will show it within a few years — chalking, brittleness, and sealant that no longer moves with the frame.
The Installation Sequence That Actually Keeps Water Out
A correct new-construction window install follows a specific order, and skipping or reversing steps is how leaks get built into a house before it's even finished. The sequence we follow:
- Verify the rough opening is square, plumb, and sized correctly before the window ever shows up on site — catching a framing error now is a lot cheaper than after the window arrives.
- Install a sloped sill pan flashing at the bottom of the opening so any water that does get past the window has a path back outside instead of into the wall.
- Integrate the window's nailing fin with the weather-resistive barrier in the correct shingle-lap order — housewrap laps over the top and side fins, and the sill pan laps under the housewrap below it, so water always sheds downward and outward.
- Fasten the nailing fin per the manufacturer's instructions and the window's Florida product approval — fastener type, spacing, and edge distance all matter for wind performance, not just for holding the window in place.
- Shim the frame for square, plumb, and level, then air-seal and insulate the gap between the frame and rough opening from the interior side.
- Backer rod and sealant at the head and jambs on the exterior, sized and installed so the joint can move with temperature swings without failing.
None of these steps are visible once the exterior finish is on. That's exactly why they matter — there's no second chance to catch a mistake once the siding or stucco covers the flashing.
Meeting Florida Building Code in a Wind-Borne Debris Zone
Windows installed in Manatee County have to carry a valid Florida product approval or Miami-Dade Notice of Acceptance matching the design pressure and wind zone for the specific home's location and height. There are two accepted paths to meeting the wind-borne debris requirement, and the right one depends on the home, the budget, and the owner's preference:
| Approach | How It Meets Code | Trade-Offs |
|---|---|---|
| Impact-rated glass | Laminated glass holds together under impact; no separate storm protection needed | Higher upfront window cost; heavier units; no separate shutters to store or deploy |
| Non-impact glass + approved shutters/panels | Standard glass paired with code-approved shutters or panels installed before a storm | Lower window cost, but shutters must actually be installed before landfall to count, and need storage and access |
Either path is a legitimate, code-compliant choice — it comes down to whether an owner wants the protection built into the glass permanently or is comfortable with a shutter routine every storm season. We install and flash both types the same careful way; the difference is entirely in the product spec, not the installation quality.
Permitting and inspection in this area run through Manatee County's building department (or the applicable municipal authority, depending on exactly where in Lakewood Ranch the property falls), and new-construction window installs are typically checked at the framing and/or window-and-door inspection stage before the exterior is closed in. That inspection is a genuine opportunity to catch a flashing problem — we treat it as a checkpoint, not a formality to get past.
How We Handle New-Construction Window Jobs in Lakewood Ranch
Whether we're working directly with a homeowner building custom, or alongside a general contractor on a spec home or addition, the process stays consistent:
1. Plan and Window Schedule Review
We review the architectural window schedule against the home's actual wind zone and elevation to confirm every unit specified carries the correct product approval — not just "impact-rated" in general, but rated for that specific opening's size and pressure requirement.
2. Rough Opening Verification
Before frames are ordered or installed, we check actual field dimensions against the plan. Framing tolerances add up, and it's far cheaper to adjust an opening than to force a window that's slightly out of square.
3. Installation to Code and Manufacturer Spec
Sill pan, WRB integration, fastening schedule, shim, and seal — done in the order above, on every opening, whether it's a small bathroom window or a wide sliding glass door unit.
4. Inspection Coordination
We schedule our work to be ready for the county or municipal inspection at the right stage, and we don't cover flashing details until they've either passed inspection or we're confident they'd pass one.
5. Final Walk and Warranty Paperwork
Once the exterior finish is complete, we walk every opening for operation, seal, and appearance, and make sure manufacturer warranty registration is filed correctly under the homeowner's name.
What Drives Cost on a New-Construction Window Job
| Factor | Why It Matters |
|---|---|
| Frame material (vinyl, aluminum, fiberglass) | Different price points, thermal performance, and long-term maintenance needs in Florida heat and humidity |
| Impact-rated vs. standard glass + shutters | Impact glass costs more per unit but removes the ongoing task of storm shutter installation |
| Number and size of openings | Large sliding or picture units and oversized openings cost more per square foot than standard windows |
| Home height and elevation | Design pressure requirements increase with height, which can require a higher-rated (and pricier) product |
| Access and site conditions | Second-story installs, tight lot lines, and active construction-site logistics all affect labor time |
We give straightforward, itemized numbers up front rather than a single lump sum, so it's clear what's driving the total on your specific project.
Why Local Lakewood Ranch Experience Actually Matters Here
Lakewood Ranch isn't one neighborhood — it's a large collection of villages and communities, many with their own homeowners' association and architectural review process governing exterior appearance, even during new construction or an addition. Window style, grid pattern, frame color, and sometimes even glass tint can be subject to ARC approval before installation, and that approval needs to happen before windows are ordered, not after they show up on a truck. A crew that already works in this area knows to check for that step instead of finding out the hard way.
There's also the practical side of working in an area with this much active development: coordinating access on job sites that are still under construction, working around other trades and delivery schedules, and understanding which inspection authority applies to a given address inside Manatee County. None of that is complicated, but it's the kind of local familiarity that keeps a new-construction window job moving on schedule instead of stalling on paperwork or access.
Before Installation Day: A Practical Checklist
- Confirm the window's Florida product approval or NOA number matches the home's actual wind zone and design pressure — not a generic "impact-rated" label.
- Verify HOA/ARC approval for window style, frame color, and grid pattern if the property is in a community with architectural review.
- Check that rough openings have been field-measured against the plan, not just assumed correct from the drawings.
- Confirm sill pan flashing and WRB integration are part of the written installation plan, not left to individual installer judgment on site.
- Ask which fastening schedule will be used and confirm it matches the manufacturer's instructions for that product.
- Confirm who is scheduling the county or municipal inspection and at what construction stage.
- Get manufacturer warranty registration in writing as part of the closeout, not verbally promised.
If you're building, adding on, or coordinating window installation for a project in Lakewood Ranch, we're happy to walk the plans, review the window schedule, and put together a free, no-pressure estimate — just fill out the form below and we'll follow up.